Designing a reusable signature with blocks
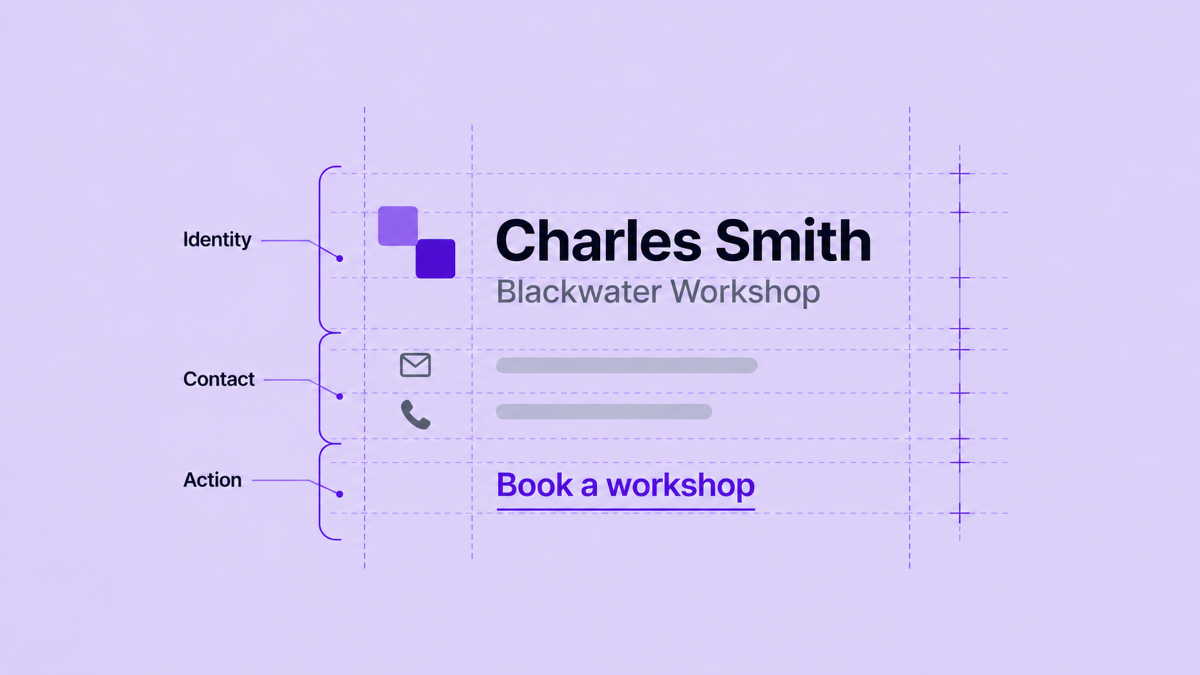
A reusable signature gives every employee the same visual starting point while letting the sender's name, role, contact details, and other approved fields change.
This guide follows a fictional Blackwater Workshop through that design decision. The goal is a signature that feels like one company standard, gives a prospective client a clear next step, and does not require a separate hand-built version for every person.
Start with a layout that has a job
Choose the information order before styling individual blocks. A useful structure for Blackwater Workshop is:
- The company logo and visual identity.
- The employee's name, role, department, and contact details.
- The company name and address.
- One booking link for conversations that need a scheduled next step.
In Signaturify's block editor, the Start with choices include Classic, Compact, Modern, and Minimal. The Modern starter is a practical starting point for this scenario: it places the company logo above a two-column area, with employee details on one side and company information plus a meeting link on the other. You can keep that structure, choose a layout such as Header + 2 Columns, or start blank and assemble the same hierarchy yourself.
A logo, identity, contact route, company information, and one useful action are enough. Add social icons or a QR image only when the recipient has a clear reason to use them.
Separate employee identity from company data
Blackwater Workshop's fictional company profile supplies the company name, approved logo, website, and office address. The selected employee supplies personal data such as name, job title, department, email, phone, and profile photo.
For an illustrative version, use Sadie Adler, Client Partnerships, at sadie@blackwaterworkshop.co. The address and
domain are sample data for the article, not a customer mailbox or verified contact destination. The signature can show
Sadie's details while retaining one shared company mark and the same spacing used by the rest of the team.
In the editor, insert employee and company fields where those values belong. The Fields tab keeps the fields together.
Typing { in a text block adds one while editing. A name block can combine first and last name; a contact block can link
email and phone. Company fields keep the logo, website, and address in one profile instead of repeating them.
This separation clarifies ownership. Marketing can maintain identity and the booking destination, while the data owner keeps roles and contact details current. A Workspace administrator can coordinate access and deployment.
Add one useful booking link
The Blackwater Workshop signature has one light booking action labeled Book a project call. It belongs beside the company information because it answers a likely next question from a prospective client. It does not need to compete with the sender's name or contact details.
Use the block editor's Booking Link block when the action should look like a light meeting button. Configure the destination your team approves, and keep the label specific enough that a recipient knows what will happen. A plain text or filled Button block can work when the action needs a different visual treatment. Use one prominent action and keep additional links quiet.
The label is part of the shared design, while the destination needs review by the marketing owner. A sample address in this article is not a real booking destination.
Let optional content respond to available data
Personalization works best when the design knows which values may be absent. The Modern starter hides the company logo when the company logo field is empty, and its contact lines can hide when their fields have no value. You can apply the same idea to an optional phone line or mobile number.
For example, show the phone row when the Phone field has a value. If the row includes an icon and a label, keep those pieces under the same visibility decision. Place an adjacent separator immediately before the optional group and mark it Auto-hiding separator so it follows that group's condition. A required name or company identity needs data maintenance instead of a rule that hides it.
Preview the design with Sadie and a second employee who has no direct phone number. In Preview, select each employee and turn on Preview data. Confirm that the logo, identity, contact links, and booking action remain ordered. Then check a long job title and a blank optional field. The preview helps judge populated output; it does not correct records.
Save the signature separately from deployment
When the layout is ready, use Save in the block editor. That stores the signature template and its block structure. It does not apply the signature to Gmail automatically.
The editor also exposes an HTML action that shows the generated email HTML for the current block document. This is useful when a team needs to inspect or reuse the rendered result. The signature chooser also offers Start with HTML, which opens the existing HTML editing path. Arbitrary HTML is not automatically converted into editable blocks, so decide at the start whether the design should be maintained as blocks or as HTML.
After saving, an authorized user selects the signature, company profile, and audience in the deployment flow, then runs Set Signature. Choose the team that should receive the design and include the sending addresses that matter. The resulting work is queued for Gmail, and the transaction history reports progress or failures. Review a small representative audience first, then extend the deployment when the populated signatures and links look right.
This gives Blackwater Workshop a maintained design rather than a collection of copied signatures. The layout stays recognizable, the employee and company details remain separate, and the single booking action has a clear purpose.
Planning a reusable signature for your Workspace? Tell us about your Workspace. Share your team size, the company information you need to centralize, and the employee fields that vary.
Prefer to explore the block editor yourself? Try Signaturify.